The Simple Joy of Homemade Bread

Homemade Goodness…
I will never be on a carb free diet– I just love gummy bears and fresh bread way too much to EVER give them up! And speaking of fresh bread…there is nothing more delicious than fresh-from-the-oven homemade bread with some cold butter and a sprinkle of coarse salt!! I could live off this meal, with gummy bears for dessert of course : )
Homemade bread is a scarcity these days. With supermarkets housing in-store bakeries and great local artisan bakeshops serving up craft breads, few people attempt to make their own at home. Making bread can be quite daunting to try, but it is really quite simple and can be worked into anyone’s schedule.
I decided to make these loaves after I bought a 12 grain sandwich loaf of bread from my local grocer. After reading the ingredient list, the “12 grain” part was actually quite small–less than 2% of the ingredients! Making my own bread lets me add as much and whatever kind of whole grains I want. But don’t feel bound by the recipe here–this recipe reflects what I had hanging around in my kitchen! Any different grains can be used–that’s the beauty of bread. Think of it as a game of checks and balances between the flour and the liquid. Different flours pick up different amounts of water–even different regions can show many variations. This is the reason many bread recipes will give you a range of flour and tell you to add more if the dough is too wet or add some more water if the dough is too dry. Just resist the urge to add a lot of flour–as the dough will sit, the flour absorbs more of the liquid and you will notice the dough will not be as wet as you originally thought. Try to err on the side of a dough with a little bit of tackiness rather than a dough that is so dry it sticks to nothing.
When it comes to whole grains, they can weigh a bread down and tend to be on the denser side. This is why I like to blend in some bread flour to help the bread have a lighter texture (how I prefer my sandwich bread). There are some great grains out there these days–and they can easily be substituted into your artisan loaves. I also make this bread with a starter. Don’t be intimidated!! Its very easy to make and really adds some nice flavor to the bread as well as keeps it moist and gives it a longer shelf life. I urge you to give bread a try at home–and tell me that there is no greater satisfaction than a pulling your beautiful homemade bread from the oven…other than opening a fresh bag of gummy bears!!
For the starter
1 cup water, room temperature
1 1/4 teaspoons dry active yeast
1 3/4 cup all purpose flour
Dissolve the yeast in the water and add the flour. Mix well. The mixture should look like thick, sticky pancake batter.

Getting Started!
If the mixture is too thick, add a bit of water; too runny add a tablespoon or so of flour to achieve this consistency. scrape the mixture into a container that will allow for the mixture to expand about 3x its size. Cover with a lid or with plastic wrap and allow to stand at room temperature until mixture rises and then starts to collapse. I put mine in a sunny window for a couple hours, or leave in a cool place for 6-8 hours. The longer and slower it is allowed to rise, the more flavor it imparts. At this point, you can also put it in the refrigerator to allow it to rise overnight. If you do store in the refrigerator, allow the starter to come to room temperature before use. The finished starter will be light, very bubbly, smell slightly milk & sweet, and will make a beautiful bread!

Ready!
Delicious Sandwich Bread makes 2 loaves
All the starter
1 packet (1/4 oz) dry active yeast
1 1/2 cups warm water
2 Tablespoons olive oil
2 Tablespoons honey
2 cups whole wheat flour
about 3 cups bread flour
1/4 cup ground flax meal
1/4 cup wheat germ
2 Tablespoons sesame seeds
Combine the water and the yeast in the bowl of a stand mixer. Stir to dissolve yeast. Add all of the starter and the honey and olive oil. Add the whole wheat flour, about 2 1/2 cups of the bread flour, the flax, wheat germ & sesame seeds.

Delicious AND Nutritious!!
Using the dough hook, mix on low speed to combine. Allow to mix for about 1 minute to determine if more flour is needed. If needed, slowly add enough bread flour to make a moist, soft and sticky dough. Mix about 3-4 minutes then allow dough to sit covered in the mixing bowl for about 10 minutes. This will allow the flour to absorb more of the liquid and make it more manageable. Turn dough out on counter, using a light dusting of flour if needed, and gently knead until smooth, about 1 minute. The dough will spring back when a finger is pressed into it. Place dough in a lightly greased bowl, cover and let rise until double.

Peek-a-boo!
***At this point you can also let it rise in the refrigerator and bake it the next day. This final rise will take longer since the dough will be cool.***
Lightly grease 2-9 inch loaf pans. I like to dust them with additional wheat germ and flax meal but it is not necessary.

This adds a nice look and texture
Once the dough has risen, fold dough in onto itself and divide into two even pieces.

Ready to shape!
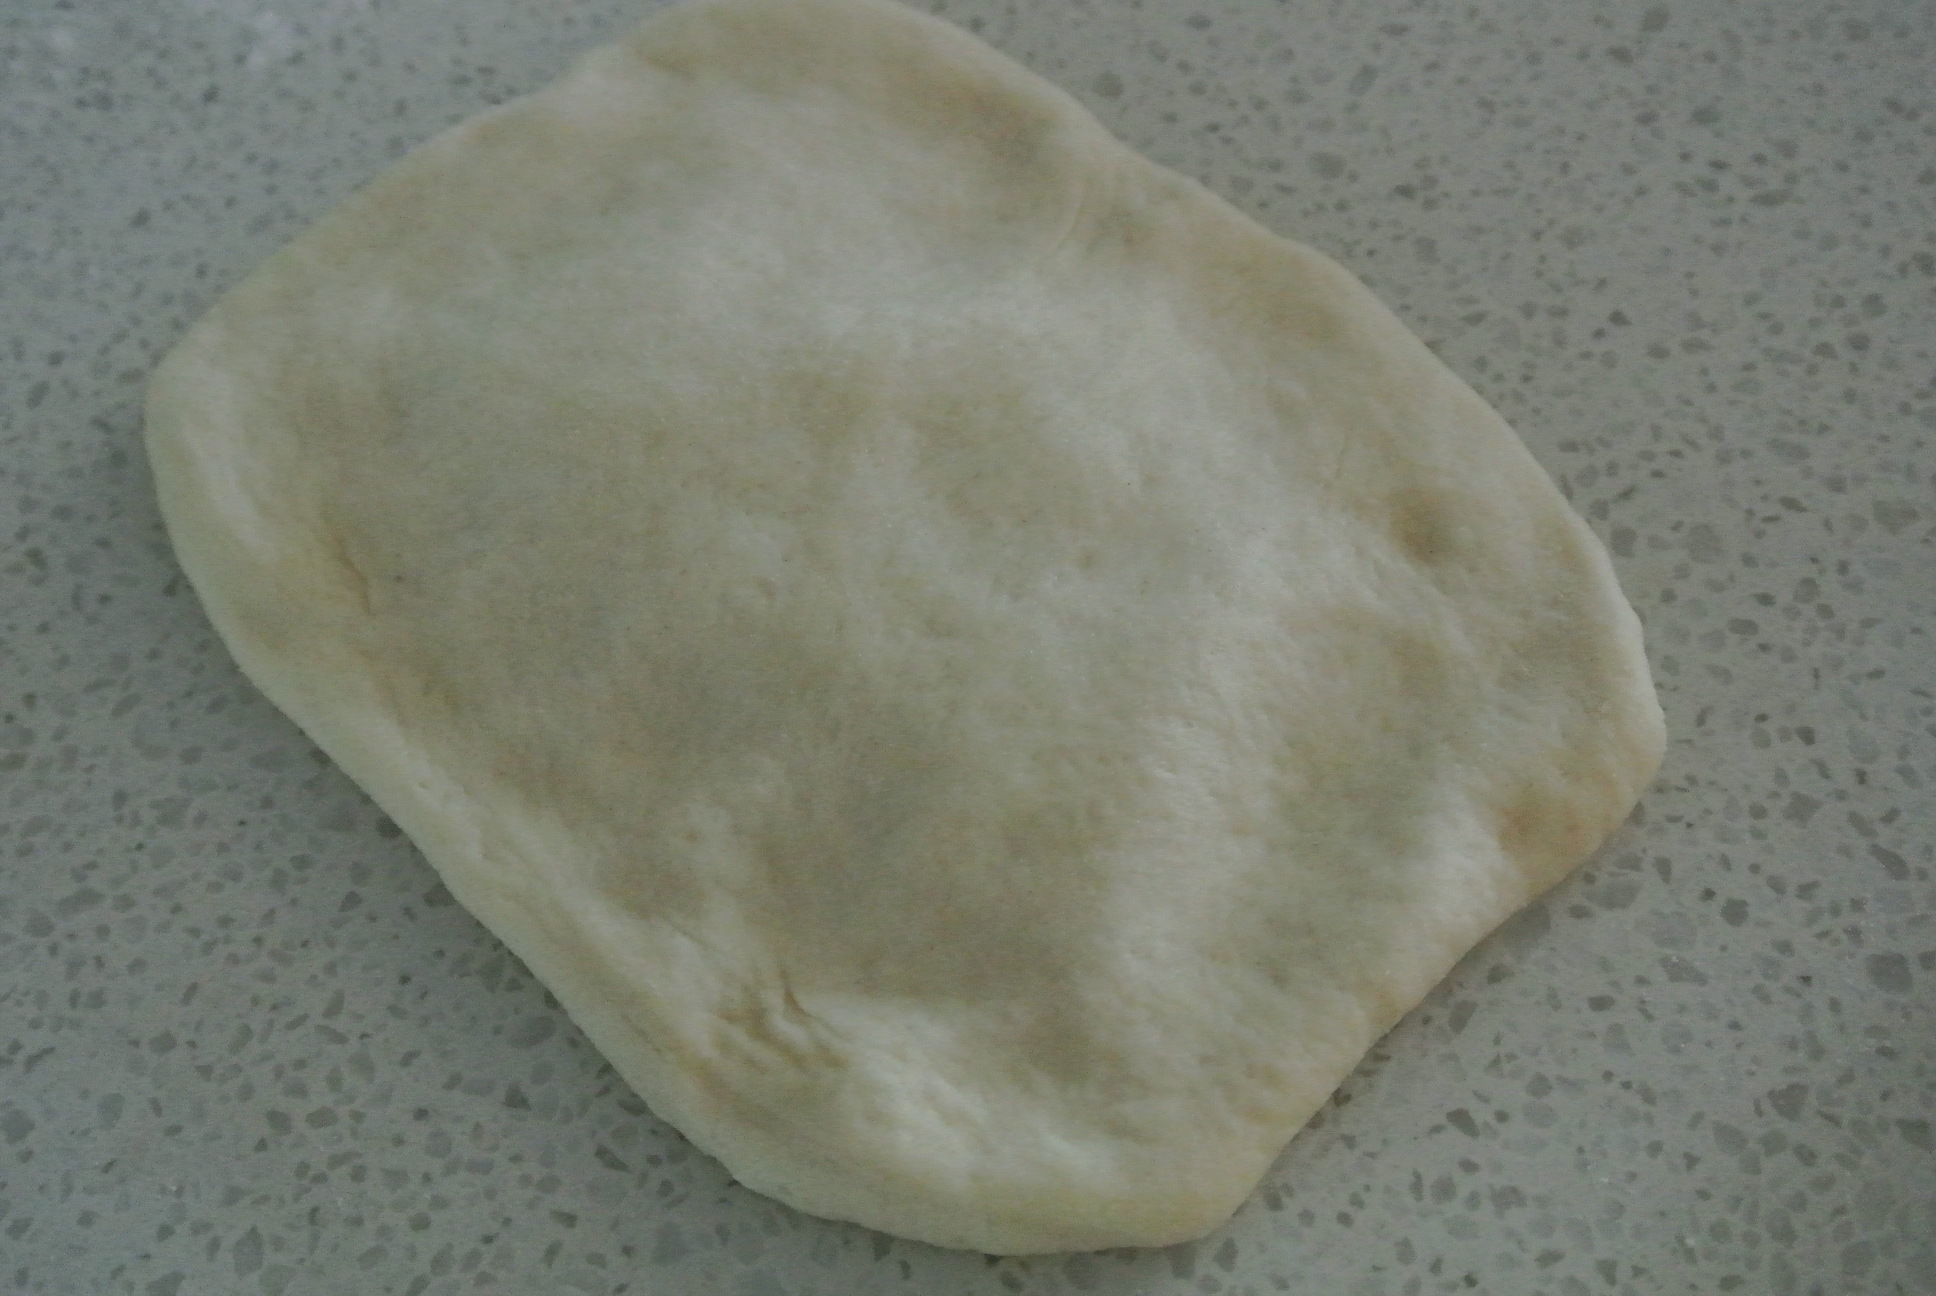
Roll piece out into a rectangle about the same length as the loaf pan.

Keep the dough around the same length as the pan so it will fit well
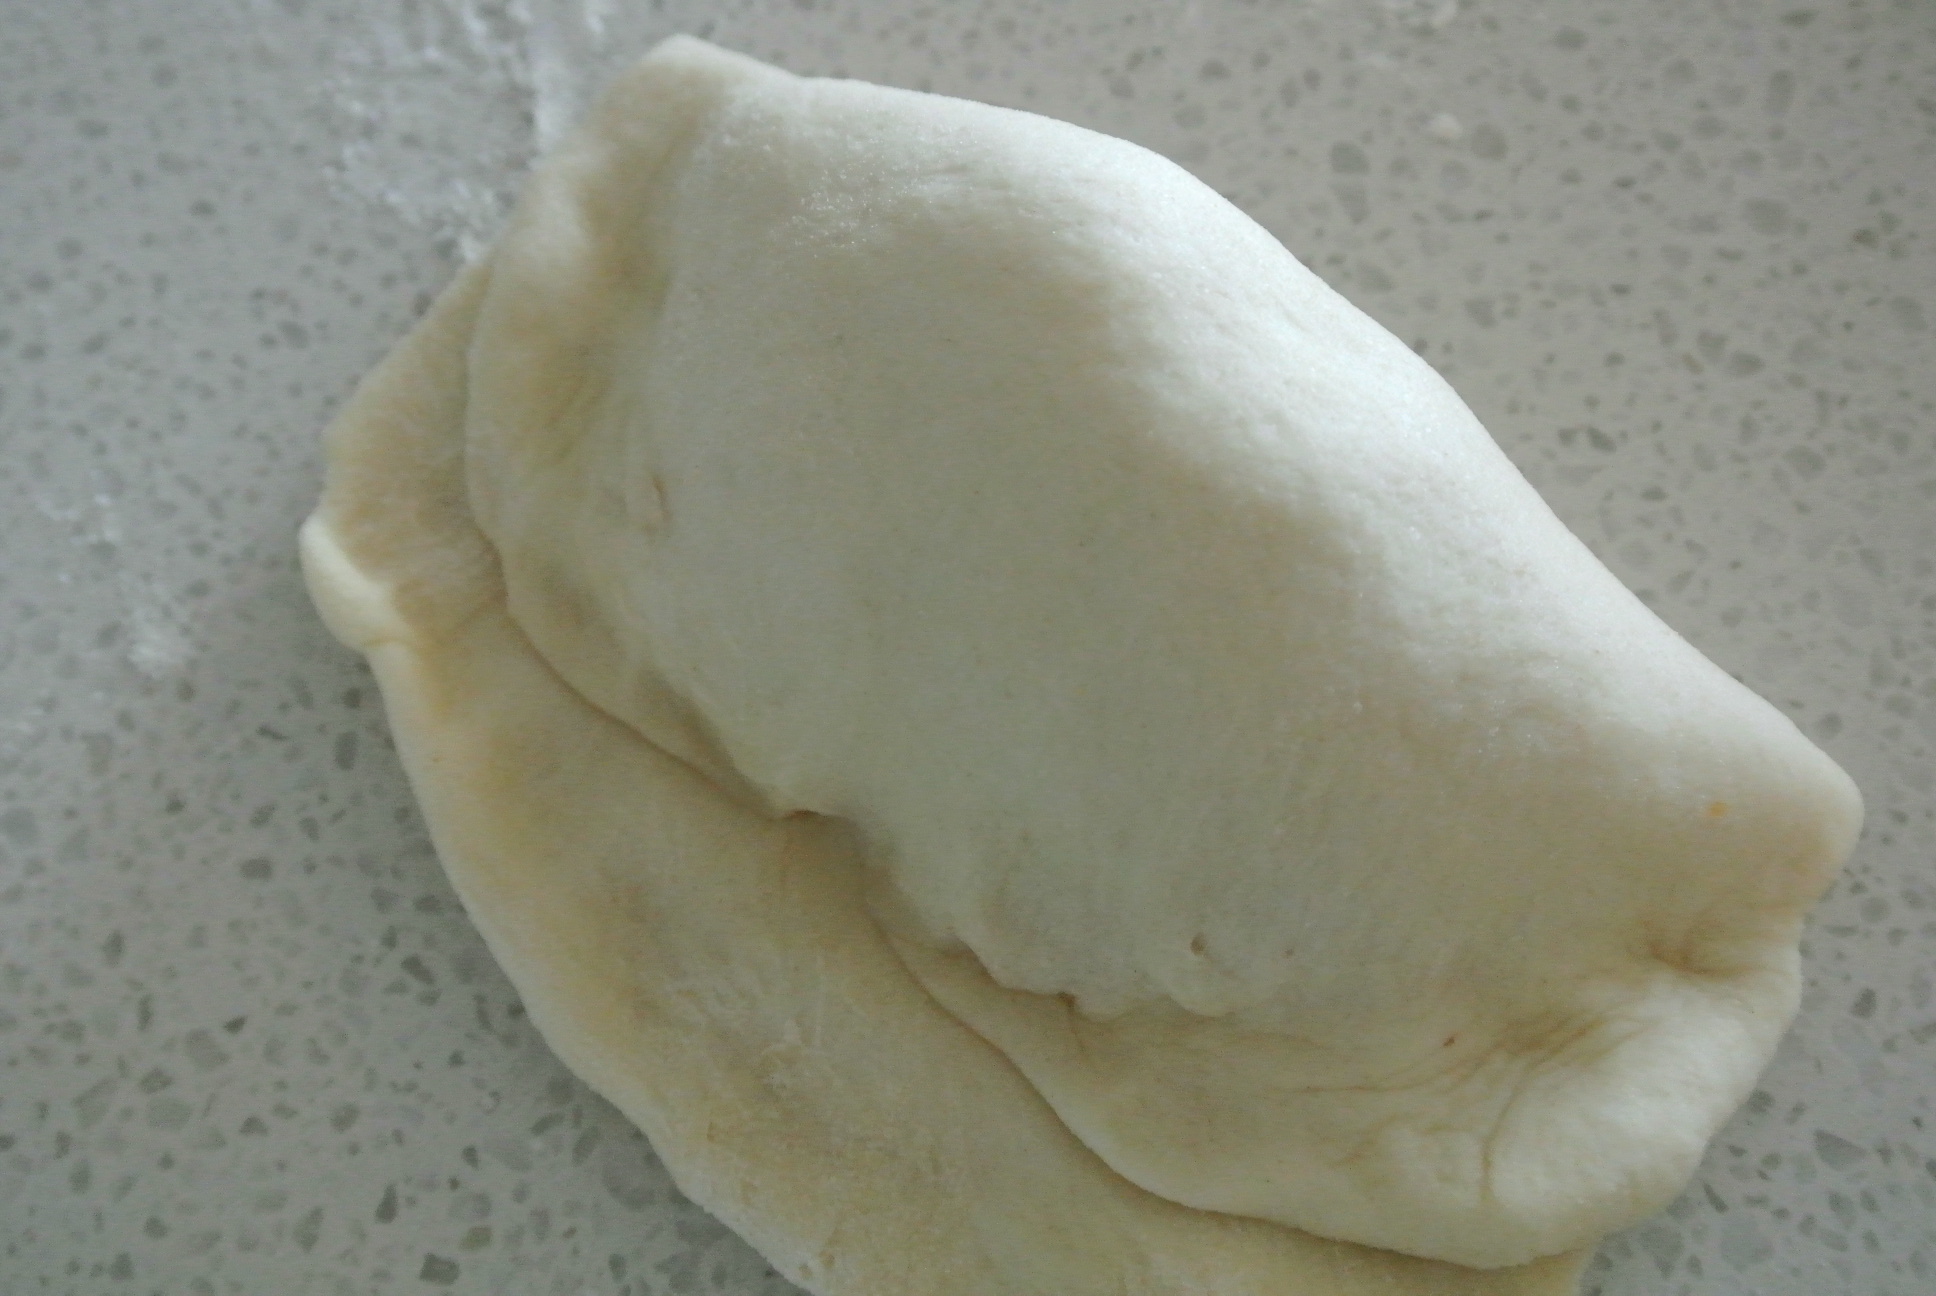
Roll the dough up tight like a jelly roll and pinch the seam to seal. Place the dough, seam side down, into prepared pans.

Perfect fit!
Cover and allow to rise to fill the pans. Meanwhile, preheat oven to 400F. Once dough is ready, I like to dust the top lightly with flour or wheat germ, but this is optional.

One step closer to tastiness!
Bake the loaves in preheated oven for about 20-30 minutes, until they sound hollow when tapped. Cool on racks for about 10 minutes, remove from pans and cool completely (well, almost!!). Enjoy fresh!
Tips from A Cook
The starter and the bread dough can be made ahead of time. Store in the refrigerator until use. Remember colder doughs will rise much slower so you can work this into your timing.
Experiment with different whole grain flours and add ins! Add delicious seeds such as sunflower and poppy for a nice texture and crunch.